
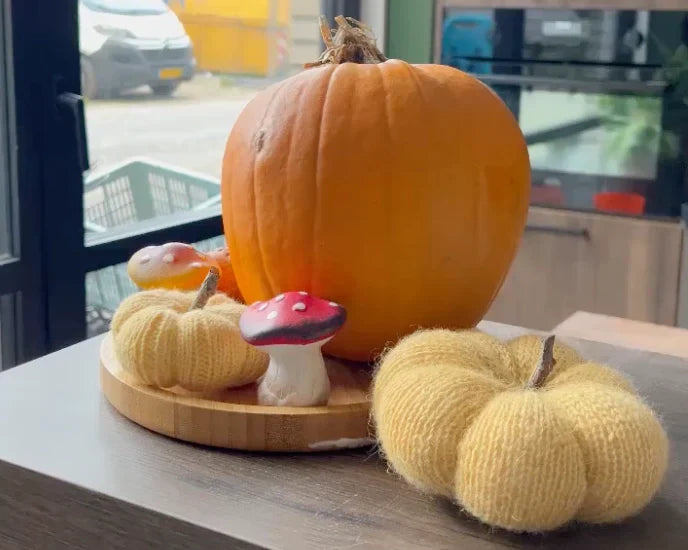
Free Pattern: Speedy Little Pumpkin
Make a cozy autumn decor in just a few hours! This beginner-friendly knitting pattern uses about 12 g of yarn and 2.25 mm needles. It’s a speedy project, perfect for those cozy autumn afternoons.
Skill level: Beginner
Materials
Yarn: ~12 g fingering/sock-weight yarn in orange or any pumpkin-y shade.
Needles: 2.25 mm (US 1) for small circumference in the round (DPNs or 80 cm / 32" circular for magic loop)
Notions: stitch marker, tapestry needle, fiberfill/cotton wool, small wooden stick (stem).
Gauge
30 sts × 42 rows = 10 × 10 cm (4 × 4") in stockinette, lightly blocked.
Tension is not critical for this project. Work firmly so the stuffing doesn’t show. The exact gauge only affects the final size.
Finished size
About 6–7 cm (2½–2¾") diameter × 4–5 cm (1½–2") tall, depending on gauge and stuffing.
Abbreviations
- CO - cast on
- K - knit
- BO - bind off
- PM - place marker
- Rnd - round
Pattern (worked in the round)
You’ll knit a plain stockinette tube, then gather both ends, stuff, and add segment shaping. Because we’re gathering a bound-off edge, bind off loosely or use a needle 1–2 sizes larger for the BO row. Leave long tails at both the cast-on and bind-off edges for closing and segment shaping.
CO 60 sts. Join to work in the round, PM, being careful not to twist.
Knit every rnd (stockinette) until the tube measures 10 cm from the cast-on edge.
BO all sts loosely. Cut yarn, leaving a 60–80 cm tail at the bind-off to use for closing/segment shaping.

Finish & Stuff
Thread the cast-on tail onto a tapestry needle and sew a running/gathering stitch around the very edge, catching one leg of each cast-on stitch (or every other stitch). Pull tight to cinch closed. Take a few securing stitches.
Add fiberfill firmly but not rock-hard. Aim for a squat ball.
With the long bind-off tail, run a gathering stitch through each bound-off stitch around the edge. Pull tight to close the top. Take a few securing stitches, but do not cut this tail. We will use it for shaping.
Shape the Pumpkin Segments
Step 1: Thread the long tail on a sturdy needle and stab straight down through the center of the pumpkin, exiting at the bottom center. Pull snug to indent the top slightly.
Step 2: Bring yarn up the outside of the pumpkin, back over the top edge, and down through the center again, creating a “belt” that forms one segment. Pull to define a groove.
Repeat Step 2 to make 6–8 evenly spaced segments, adjusting tension so the pumpkin looks plump with neat ribs.

Finish at the top. Take a couple of small securing stitches and bury the tail through the pumpkin, trimming the end where it won’t be seen.
Stem
Insert a small wooden stick into the top dimple. Secure with a few hidden stitches around it or a tiny spot of glue.
Safety note: For baby/toddler use, skip the stick. Instead, knit a quick 3-st i-cord, 3–4 cm long, and sew it on firmly.
Tips & Variations
Bigger/smaller: Change stitch count in multiples of 10 (e.g., 50, 70) and adjust length proportionally (length ≈ ⅔–¾ of circumference before gathering).
Textured ribs: Alternate [K 9, P 1] each round for faint built-in grooves.

Enjoy your cozy, speedy knit!
Browse all our patterns here and find your next project!